
Loop Forming Pliers: Step-by-Step Tutorial – Loop Forming Pliers
In orthodontics, precision wire bending is an art—and one of the key instruments that makes it possible is the loop forming plier. Whether you’re creating loops for space closure, torque control, or anchorage, these pliers allow orthodontists to shape archwires with consistency and accuracy.
In this tutorial, we’ll walk you through how to use loop forming pliers step-by-step, plus some practical tips to help you achieve professional-quality loops every time.

What Are Loop Forming Pliers?
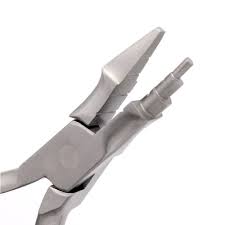
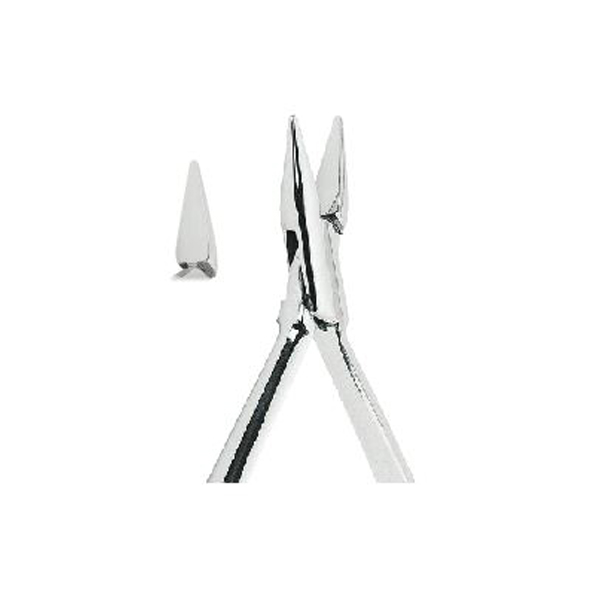
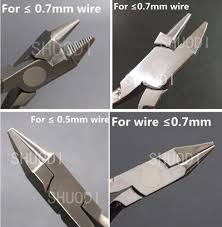
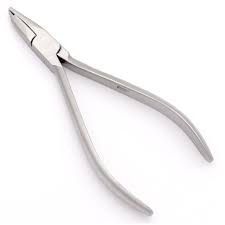
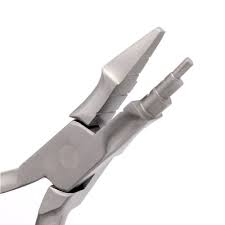
Loop forming pliers are orthodontic instruments specifically designed to create uniform loops in archwires. They typically feature:
- Beveled, rounded jaws for smooth bending
- A design that prevents wire scoring or damage
- Compatibility with a range of wire sizes
- Ergonomic handles for precise control
These pliers are an essential part of an orthodontist’s toolkit, especially for techniques involving closing loops, T-loops, or omega loops.
Common Uses in Orthodontics
Loop forming pliers are used to:
- Create closing loops for space closure in segmented mechanics
- Form omega loops to maintain arch length
- Bend step-downs or step-ups in archwires
- Add compensatory bends for torque or tip control
Step-by-Step Tutorial: How to Use Loop Forming Pliers
1. Select the Right Wire
Choose the correct wire size and material for your treatment phase. Stainless steel is often preferred for loops due to its stiffness and springback properties.
2. Mark the Loop Position
Use a marker or divider to measure and mark where the loop should be placed. Proper placement ensures optimal biomechanics.
3. Grip the Wire Securely
Position the wire between the beveled jaws of the loop forming plier at your marked point. Ensure it’s aligned evenly before bending.
4. Form the First Bend
Gently squeeze the pliers to create the initial curve. The rounded jaw will help create a smooth arc without sharp angles.
5. Complete the Loop
Rotate the wire as needed while continuing to bend until the loop is fully formed. Aim for symmetry—each side of the loop should be equal for balanced force distribution.
6. Check and Adjust
Remove the wire and visually inspect the loop. Use fine-tuning bends to correct asymmetry or adjust the loop’s height and width.
Pro Tips for Perfect Loops
- Use consistent pressure to avoid wire distortion
- Practice with scrap wire before working on patient appliances
- Check symmetry by placing the loop on graph paper or using a loop template
- Avoid over-bending, as repeated adjustments can weaken the wire
Variations of Loop Forming Pliers
Different loop forming pliers are available for specific applications:
- Standard Loop Forming Pliers – for general orthodontic loops
- Three-Step Loop Pliers – for creating small, medium, and large loops consistently
- Omega Loop Pliers – specifically designed for precise omega loop fabrication
Choosing the right variation ensures consistent results and reduces chair time.
Final Thoughts
The loop forming plier is a fundamental tool for orthodontists who value precision, control, and efficiency in wire bending. By mastering the step-by-step technique, you’ll produce uniform loops that enhance treatment mechanics and patient outcomes.
With the right tool in hand and a practiced technique, creating professional-quality loops becomes second nature—saving you time and delivering predictable results.
Looking to add high-quality loop forming pliers to your practice?
Browse our collection of loop forming pliers designed for durability, comfort, and precision.