
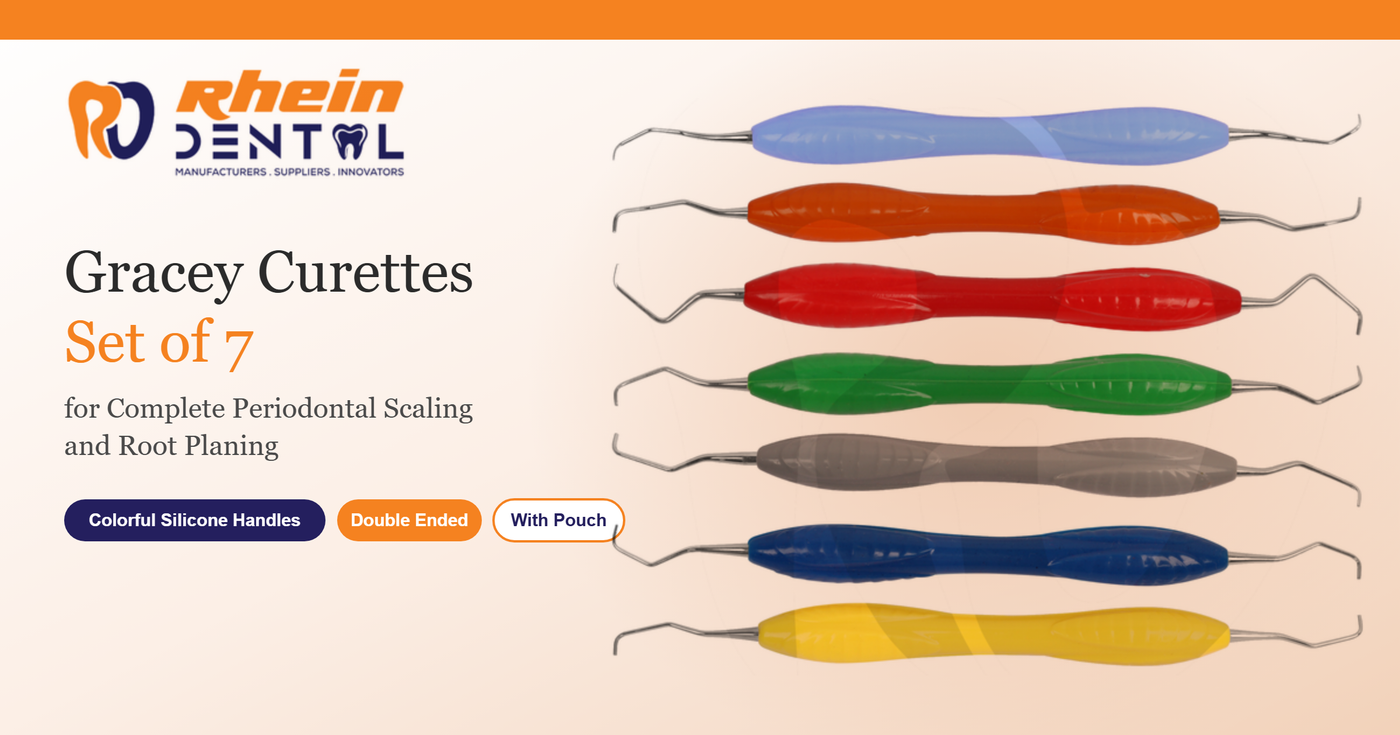
This Gracey curette set of 7 covers the whole mouth in one organised kit. Each instrument has two mirrored working ends on a lightweight, colour-coded silicone handle. As a result, seven handles give you seven pairs of area-specific working ends. The zip pouch then keeps everything together, easy to identify and ready for sterilisation.
Set contents (7 double-ended instruments):
| Handle colour | Gracey curette pair | Primary use |
|---|---|---|
| Light blue | 1/2 | Anterior teeth |
| Orange | 3/4 | Anterior teeth |
| Red | 5/6 | Anterior teeth and premolars |
| Green | 7/8 | Posterior, buccal and lingual |
| Grey | 11/12 | Posterior, mesial surfaces |
| Blue | 13/14 | Posterior, distal surfaces |
| Yellow | 15/16 | Posterior, mesial surfaces |
What Is a Gracey Curette?
A Gracey curette is an area-specific curette. Clinicians use it for subgingival scaling and root planing in one particular region of the mouth. Unlike a universal curette, each Gracey number has its own blade angle and shank shape, so each one matches the anatomy it needs to reach.
The blade is the key design feature. First, it has only one cutting edge, the lower one. Second, it sits at roughly 60 to 70 degrees to the shank instead of 90. Because of this offset, the blade lies flat against the root while the shank clears the crown. Therefore, you can remove calculus without traumatising the soft tissue.
Gracey Curette Numbers and Uses
Gracey instruments come in numbered pairs. Here is a quick guide to which Gracey curette suits which teeth:
- Gracey curette 1/2 use: anterior teeth, with a straight, simple shank.
- Gracey curette 3/4 use: anterior teeth. It works much like the 1/2.
- Gracey curette 5/6 use: anterior teeth and premolars. Hygienists often reach for this pair first.
- Gracey curette 7/8 use: posterior teeth, buccal and lingual surfaces.
- Gracey curette 11/12 use: posterior teeth, mesial surfaces.
- Gracey curette 13/14 use: posterior teeth, distal surfaces. It pairs with the 11/12.
- Gracey curette 15/16 use: a modified 11/12 for posterior mesial surfaces. Its tighter shank bend improves access.
You may also see 9/10 (posterior, buccal and lingual) and 17/18 (a terminal-shank design for molar distal surfaces). However, neither belongs to this set.
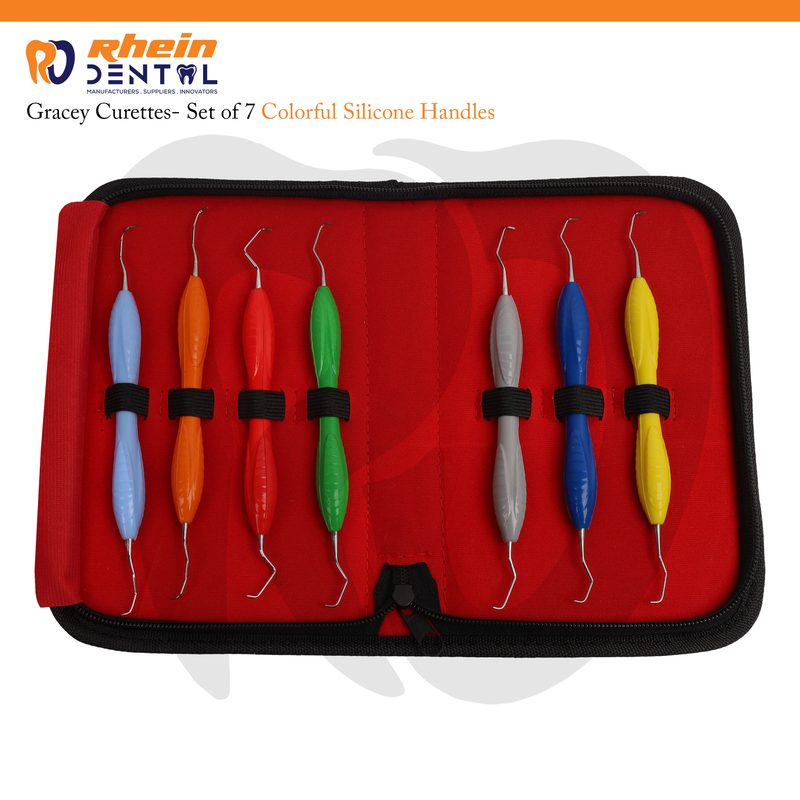
Gracey curettes set of 7 for Anterior, Premolar and Posterior Teeth
- Anterior and lower anterior teeth: use the 1/2, 3/4 or 5/6. Their straighter shanks reach incisors and canines cleanly.
- Premolars: the 5/6 handles them well. Then, as you move toward the molars, step up to the 7/8.
- Posterior teeth and lower molars: use the 11/12 and 15/16 for mesial surfaces, and the 13/14 for distal surfaces. Their angled shanks follow the curve of the arch.
- Implants: metal curettes can scratch implant surfaces. Instead, follow your clinic’s protocol and choose the instrument type it specifies.
Gracey vs Universal Curette: What Is the Difference?
Many students ask this, so here is the short answer.
A universal curette has two cutting edges per blade and a 90-degree face-to-shank relationship. In addition, one instrument works on any tooth surface. The Columbia 4R/4L and the Barnhart 5/6 are common examples. A Gracey curette, on the other hand, has one cutting edge, an offset blade and a separate number for each area.
In practice, a Gracey adapts more precisely and causes less tissue trauma in deep pockets. However, you need several instruments to cover the mouth. A universal curette is quicker to learn and needs fewer tools, so many clinicians keep both. If you wonder which Gracey curette is universal, the answer is none, because Gracey instruments are area specific by definition.
A Gracey curette also differs from a sickle scaler. A sickle scaler has a pointed tip and a triangular cross section for supragingival calculus. By contrast, a Gracey has a rounded toe and a spoon-shaped blade for subgingival work.
How to Use a Gracey curettes set of 7
- Identify the working edge. It is the lower edge, the one closer to the shank bend. To check, hold the blade face up and look for the edge that sits lower.
- Establish a stable finger rest close to the working area.
- Insert the blade flat against the root at about 0 degrees, then slide it gently below the calculus.
- Open to a working angulation of 45 to 90 degrees. Next, engage the calculus with short, controlled pulling strokes.
- Work with the lower third of the blade and keep the shank parallel to the tooth surface.
- Finish by re-probing and irrigating.
Why Choose Silicone Handles?
These handles suit hygienists and dentists who scale for hours at a time.
- Lightweight, soft grip: you pinch less, so your hand tires less.
- Textured pattern: it keeps your hold secure, even with gloves on.
- Colour coding: you tell the pairs apart at a glance, which speeds up chairside selection.
- Double ended design: one handle covers both mesial and distal access, or both buccal and lingual access.
Pouch Included
The red zip-up pouch has seven elastic loops, one for each instrument. Consequently, the set stays organised and protected between patients. Moreover, it makes transport easy for teaching, clinical rotations or mobile practice.
Who Is This Set For?
- Dental hygienists who perform periodontal debridement
- Periodontists and general dentists in clinical practice
- Dental and hygiene students who need a first Gracey curette set
- Clinics that want to replace worn instruments
Care and Sharpening
Sharpen your Gracey curettes set of 7at the first sign of dullness, because a sharp blade removes calculus more effectively and with less force. Use a flat stone and keep the blade’s original shape. Likewise, clean and sterilise the set according to your clinic’s protocol. Finally, dry each instrument before storage to prevent staining.