
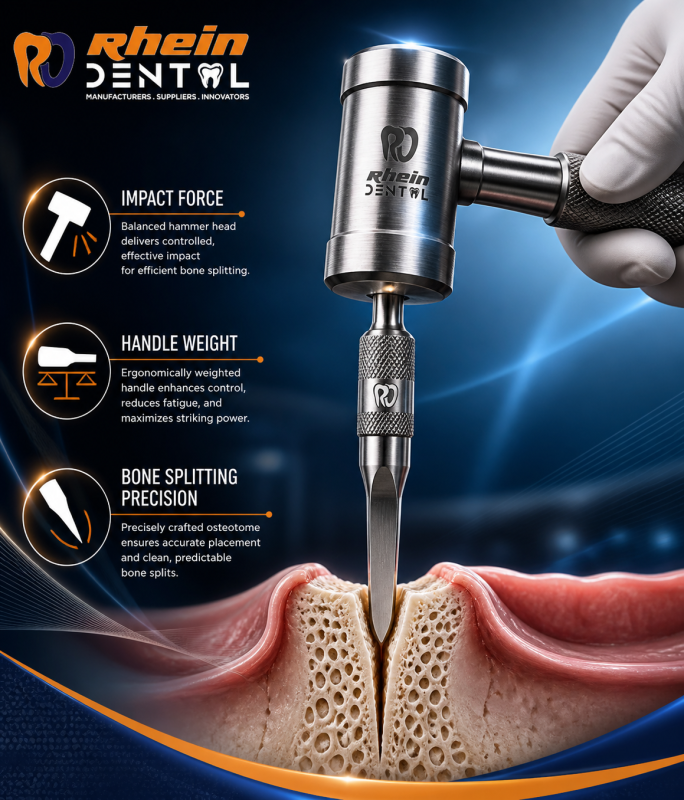
A surgical hammer and an osteotome never work alone. Together, they form a single mechanical system. Get the pairing wrong too heavy a hammer, too light an osteotome, or a mismatched strike angle and you risk uncontrolled bone fracture instead of a clean, predictable split. Get it right, and the two instruments transfer force exactly where you want it, with minimal trauma to surrounding tissue.
Why Pairing Matters More Than Either Instrument Alone
Surgeons often focus on osteotome blade width or hammer weight in isolation. However, neither number tells the full story. What matters is the relationship between them: how much kinetic energy the hammer delivers per strike, and how efficiently the osteotome’s blade geometry converts that energy into a controlled split rather than a shattering force.
A heavy hammer paired with a fine osteotome can overdrive the blade. As a result, you risk cracking bone beyond the intended line. Conversely, a light hammer paired with a wide osteotome often fails to generate enough force for dense cortical bone. So the surgeon ends up striking repeatedly, which increases trauma and prolongs the procedure.
Impact Force: What Actually Transfers to the Bone
Impact force depends on three factors: hammer mass, strike velocity, and the osteotome’s ability to conduct that energy without absorbing it as vibration.
Heavier hammers deliver more force per strike, but they also demand more control. A 200-gram surgical mallet, for example, transfers less peak force than a 300-gram version, but it allows finer adjustments in dense or delicate sites like the maxillary sinus floor. Meanwhile, denser bone — particularly in the mandible — often needs the heavier mallet to achieve a clean split without repeated, fatiguing strikes.
Strike velocity matters just as much as mass. A controlled, moderate-speed strike transfers energy more predictably than a fast, sharp blow. Fast strikes can cause micro-fractures that extend beyond the intended split line. Therefore, most surgeons favor a firm, deliberate strike over speed.
Handle Weight: The Overlooked Variable
Handle weight changes how the force actually lands. A heavier handle adds momentum to the swing, which increases impact force without requiring the surgeon to swing harder. However, it also reduces fine control, especially during repeated strikes in a confined surgical field.
Lightweight handles, by contrast, give the surgeon more tactile feedback. You can feel resistance changes in the bone as the osteotome advances. This feedback becomes critical near anatomical landmarks like the sinus membrane or inferior alveolar nerve, where an uncontrolled strike carries real risk.
Balanced-weight handles neither too heavy nor too light tend to perform best across general oral surgery. Surgeons reserve heavier handles for dense bone sites and lighter ones for delicate, precision-critical splits.
Osteotome Design and How It Changes the Equation
Osteotome tip geometry decides how the transferred force actually splits the bone. Sharp, tapered tips concentrate force into a narrow line, which produces a clean, controlled split. Blunter, wider tips spread the force across a broader area, which works better for condensing bone rather than splitting it precisely.
Calibrated osteotomes, marked with depth lines, add another layer of control. They let the surgeon track how deep each strike drives the blade. This matters because uncontrolled depth is one of the most common causes of unintended bone fracture during ridge splitting or sinus lift procedures.
Matching the Pair to the Procedure
Dense cortical bone (mandible): Pair a heavier mallet (around 300 grams) with a sharp, narrow osteotome. Use firm, moderate-speed strikes and check depth frequently.
Delicate or thin bone (maxillary sinus floor): Pair a lighter mallet with a fine, well-calibrated osteotome. Prioritize control over force, and strike gently, checking resistance after each tap.
Ridge splitting for implant site preparation: Use a balanced-weight handle with a wide, tapered osteotome. This combination distributes force evenly along the split line and reduces the risk of an uncontrolled crack extending past the intended margin.
A Practical Rule of Thumb
Match hammer weight to bone density, not to habit. Dense bone needs more force per strike; delicate bone needs more control. Choose handle weight based on how much tactile feedback the procedure demands. And always let the osteotome’s blade geometry not just its width guide which combination will split cleanly instead of shattering unpredictably.
Maintenance Note
Check the osteotome tip regularly for micro-chips or dulling. A worn tip needs more force to achieve the same split, which pushes the whole pairing out of balance. Similarly, inspect the hammer head for looseness at the handle joint. A loose head changes how force transfers on impact, even when the rest of the instrument looks fine.